Designing a new home is your chance to integrate smart, energy-saving choices that reduce future costs and improve everyday comfort. Energy-efficient new construction decisions—especially around appliances and lighting—help you avoid pricey later modifications and enjoy immediate benefits like lower energy bills and a stylish ambience. In this guide, you’ll find easy-to-understand, room-by-room lighting tips, appliance recommendations, and smart technology insights—all explained in plain language.
Why Efficiency Decisions in New Construction Matter
When you’re building a new home, you’re not just picking finishes—you’re locking in how the home will perform for decades. Efficiency choices made at build-time shape monthly utility costs, comfort (hot/cold spots, humidity, drafts), indoor air quality, and even how easily you can add future upgrades like solar, EV charging, or smart-home tech. The good news: the most impactful improvements are often simplest when they’re planned early.
Build-time Choices vs. Retrofits: Cost & Impact
Some upgrades are inexpensive only when the walls are open and trades are already on site. After move-in, the same improvements can require drywall removal, electrical rework, repainting, and multiple contractor visits.
Why build-time is the “lowest friction” moment:
- Labor is already scheduled. Adding a dedicated circuit, extra recessed lights, or a better bath fan is faster when electricians and HVAC teams are already working.
- Access is easy. Running wires, placing ducts correctly, sealing penetrations, and insulating properly is straightforward before drywall.
- Better results, fewer compromises. Retrofits often force “good enough” solutions (surface-mounted wiring, limited fixture placement, undersized ventilation paths) because finished surfaces restrict options.
Efficiency as a System: Lighting, Appliances, Electrical, Ventilation
Efficiency isn’t one upgrade—it’s how your home’s key systems work together. Planning them as a package prevents gaps (like great LEDs paired with poor controls or weak ventilation).
- Lighting (everyday savings): Use LEDs, layer ambient/task/accent lighting, and add dimmers or sensors so you light only what you need—when you need it.
- Appliances (choice and correct setup): Efficient models save the most when installed right (proper circuits, clearances, and venting) and selected early to fit the layout.
- Electrical (the home’s “infrastructure”): Panel size, circuit plan, and wiring paths decide what’s easy later—smart switches, EV charging, induction, heat-pump equipment, and solar-ready options.
- Ventilation (comfort and moisture control): Vent baths and kitchens to the outdoors with properly sized, quiet fans/hoods to manage humidity, odors, and indoor air quality—best handled during design.
When these systems are planned together, you get a home that feels better to live in: consistent lighting, fewer odors and humidity issues, safer electrical capacity, and lower monthly operating costs—all without relying on expensive fixes later.
Designing an Energy-Efficient Lighting Plan
A thoughtful lighting plan in energy-efficient new construction is more than selecting the right bulbs—it is a strategy that blends functionality with style. One proven technique is layered lighting. Rather than using a single type of light, combine different lighting types to suit each room’s needs while minimizing energy waste.
The Layered Lighting Approach
Layered lighting involves three key types:
- Ambient Lighting: Provides overall illumination, replicating natural daylight.
- Task lighting: Offers focused light for activities like cooking or reading.
- Accent lighting: Highlights specific features such as artwork or architectural details.
This approach ensures that every space has the right amount of light without relying on overly powerful fixtures.
Room-Specific Lighting Tips
Below are consolidated lighting recommendations to keep the advice clear:
- Kitchen: Use energy-efficient task lights under cabinets combined with overhead LED fixtures. Add accent lights over islands to create both a practical and visually appealing space.
- Living Room: Set the mood with soft, adjustable ambient lighting. Include task lamps for reading and accent lights to draw attention to decor.
- Bedrooms: Choose warm ambient lighting to foster relaxation, supplemented by adjustable task lights for reading or work areas.
- Bathrooms: Install bright fixtures around mirrors and supplement with energy-saving LED lights for overall brightness.
- Garage and Exterior: Opt for LED floodlights and other durable fixtures that preserve safety without driving up energy use.
Effective Lighting Controls
Simple control systems enhance your energy savings:
- Occupancy sensors: Ensure lights operate only when a room is in use.
- Dimmer switches: Let you use only the light you need, reducing energy use while improving comfort and ambience.
- Smart lighting systems: Allow you to program and manage your lighting remotely, making daily adjustments effortless.
These controls not only save energy but also extend the life of your lighting fixtures.
Avoiding Common Lighting Mistakes in Energy-Efficient New Construction
A few small planning misses can lead to glare, shadows, and “why is this room still dark?” frustrations. Avoid these common issues before drywall goes up:
- Only overhead lighting: Use layered lighting (ambient + task + accent) instead of one central fixture.
- No task lighting: Plan under-cabinet kitchen lighting and proper vanity lighting so you’re not overusing bright overheads.
- Poor switch planning: Put switches where you enter/exit and use 3-way switches for halls, stairs, and bedrooms.
- Inconsistent color temperature: Choose a clear warm/neutral/cool plan so rooms don’t feel mismatched.
- Glare from recessed lights: Don’t place downlights where they shine into seating areas—use better spacing and dimmers.
- Wrong dimmer and LED pairing: Confirm dimmer/fixture compatibility to prevent flicker or buzzing.
- Forgotten exterior lighting: Cover entries and pathways with LED fixtures plus motion sensors or timers.
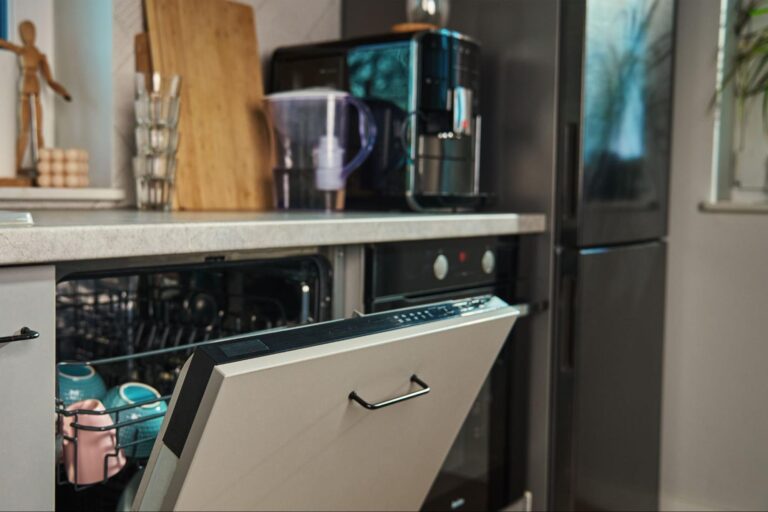
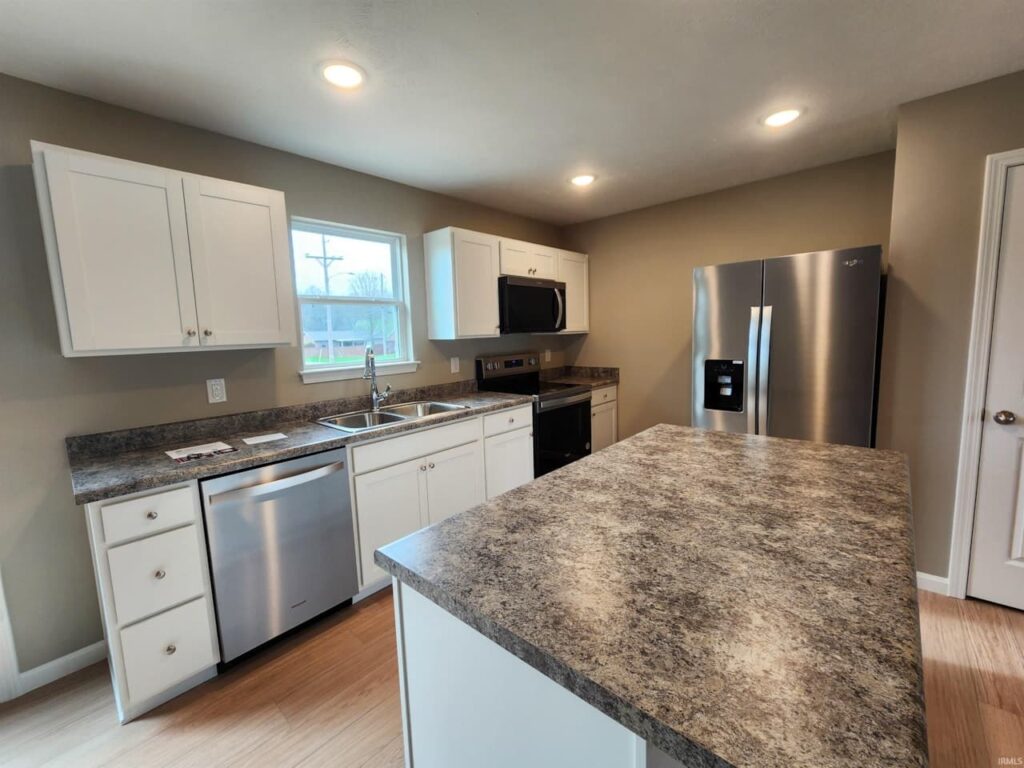
Appliances: Choosing the Right Efficiency Features for New Builds
Appliances are “everyday energy users,” so the models you choose—and how they’re installed—can have a noticeable impact on monthly utility costs. New construction is the best time to match appliance efficiency with the right electrical circuits, ventilation, and placement so everything runs safely, quietly, and at peak performance.
High-Impact Appliances
Focus first on the appliances that run often or use the most energy/water:
- HVAC and thermostats: High-efficiency systems paired with good controls can deliver major long-term savings.
- Water heater: Heat pump or high-efficiency models can cut water-heating costs significantly compared to older standard tanks.
- Heating/cooking equipment: Induction ranges are highly efficient and reduce excess heat in the kitchen.
- Clothes washer and dryer: Efficient washers reduce both water and energy; dryers with moisture sensing prevent over-drying.
- Dishwasher: Efficient models use less water per load and often have better filtration and targeted spray performance.
- Refrigerator: Not the biggest energy hog, but it runs 24/7—efficiency, seals, and stable temperatures matter.
What to Look for Beyond ENERGY STAR
ENERGY STAR is a great baseline, but it doesn’t tell the whole story. Look for features that improve real-life performance:
- Low standby power: Some appliances draw electricity even when “off.” Look for models designed to minimize idle/always-on use.
- Smart sensors: Moisture sensors in dryers, soil sensors in dishwashers, and load sensing in washers prevent wasted time, heat, and water.
- Heat pump technology: Often a big efficiency upgrade for water heaters and (in some cases) dryers.
- Insulation and sealing quality: Especially for refrigerators and freezers—better sealing helps maintain temperature with less compressor run time.
- Repairability and parts availability: A long-lasting appliance is often the most efficient choice over time (less replacement, less waste, fewer installation changes).
Appliance Specs That Affect Your Build
Appliance “specs” aren’t just paperwork—they influence your floor plan, mechanical design, and rough-in work.
- Electrical circuits & amperage: Ranges, wall ovens, microwaves, and some dryers may require dedicated circuits and specific voltage (often 240V). Plan this early to avoid costly electrical changes later.
- Gas vs. electric decisions: This affects utility hookups, venting needs, and long-term flexibility.
- Ventilation requirements:
- Dryers typically need proper venting to the exterior for safety and performance (unless ventless).
- Range hoods should vent outdoors when possible; hood size and duct routing are far easier to plan during construction.
- Clearances and door swings: Refrigerators need air space and room for doors/drawers to open fully—especially in tighter kitchens or near islands.
- Plumbing locations: Dishwashers, refrigerators with ice makers, and washers need supply/drain planning. Keeping them close to logical plumbing runs can reduce install cost and complexity.
- Noise placement: Put louder appliances (laundry, dishwashers) away from bedrooms or main living areas when possible, or choose quieter-rated models.
Comparing Models: Capacity, Cycles, Water Use, Standby Power
When you’re comparing models, “bigger” or “more features” isn’t always better. Use these practical filters:
- Right-sized capacity: Choose a size that matches your household. Oversized washers, fridges, and dishwashers can waste energy/water when rarely filled.
- Cycle efficiency: Quick cycles are convenient, but some use more energy/water. Look for efficient “normal” and “eco” cycle performance you’ll actually use.
- Water use per cycle: For washers and dishwashers, water use is directly tied to energy (less hot water needed = less energy spent).
- Dryer efficiency features: Moisture sensors, adjustable heat settings, and (if applicable) heat pump drying can reduce energy use and protect clothing.
- Standby power and connectivity: Wi-Fi features can add small ongoing power draw. If you want smart features, look for models designed with low idle consumption.
- Real-life usability: Controls that make it easy to choose efficient settings (instead of buried menus) increase the odds you’ll use the features that save money.
Simplifying Smart Home Integration
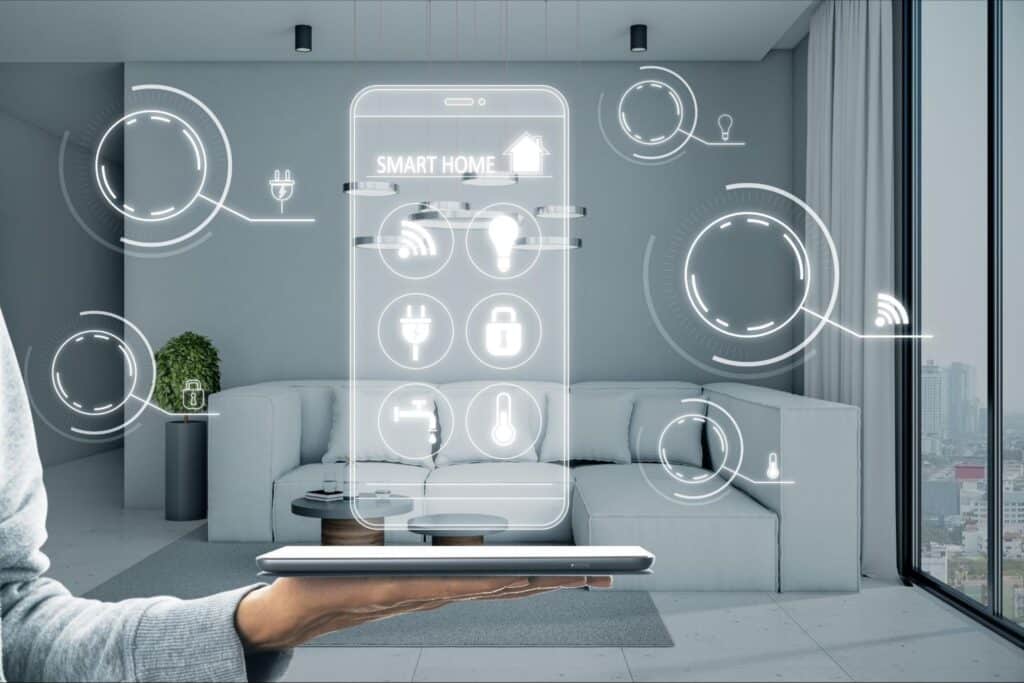
Smart home technologies can automate many energy-saving tasks, making your home efficient without extra effort. For example, a smart thermostat adjusts room temperatures based on your routine, and smart lighting turns off automatically when rooms are empty. By incorporating these smart solutions during construction, you create a home that is both modern and easy to manage.
Key Benefits of Smart Integration:
- Convenience: Automates routine tasks so you can focus on enjoying your home.
- Efficiency: Reduces waste by ensuring systems work only when needed.
- Flexibility: Lets you adjust settings easily to suit changing routines or preferences.
Preparing Your Energy-Efficiency New Construction Checklist
A detailed checklist is a valuable tool to ensure every energy-efficient element is addressed during construction. This checklist simplifies decision-making and keeps your project on track.
Lighting Plan Essentials
- Fixture Selection: Choose the right mix of recessed, pendant, or wall-mounted fixtures.
- Control Systems: Incorporate occupancy sensors and smart systems for optimal operation.
- Exterior Considerations: Select durable fixtures that illuminate high-traffic areas efficiently.
- Color Temperature: Match light tones to the function of each room.
Appliance Selection Essentials
- Efficiency Ratings: Prioritize ENERGY STAR-rated appliances with low standby power.
- Infrastructure Compatibility: Ensure the electrical and ventilation systems match appliance requirements.
- Water and Energy Use: Select appliances designed to save both water and energy.
- Future Compatibility: Consider appliances that are adaptable to new efficiency standards.
Builder Collaboration Questions
- How can the home design reduce overall energy use?
- Can smart wiring be installed for improved control over lighting and temperature?
- Can we pre-wire (or leave accessible pathways and panel space) for future smart-home upgrades—like additional sensors, smart shades, security, or whole-home automation?
- Are there local rebates or incentives available for energy-efficient installations?
- Which upgrades offer the best long-term energy savings?
Frequently Asked Questions About Energy-Efficient New Construction
How much more do energy-efficient lighting and appliances cost during new construction?
Most energy-efficient upgrades cost only 5-15% more during construction compared to standard options—but they can cost 300-400% more to retrofit later. For example, adding LED-compatible dimmers costs $15-25 per switch during rough-in versus $100+ after walls are finished. The payback period through lower utility bills is typically 2-5 years, and you’ll enjoy the benefits for decades.
Should I choose gas or induction for my range?
Induction ranges are significantly more energy-efficient, produce less waste heat, don’t require combustion venting, and improve indoor air quality. They do require a dedicated 240V circuit, which is easy to plan during construction. While induction ranges may cost $300 more upfront, you’ll often save $800+ in ventilation costs and enjoy lower operating expenses.
What does “layered lighting” mean, and why does it matter?
Layered lighting combines three types: ambient (overall illumination), task (focused light for activities), and accent (highlighting features). This approach lets you use only the light you need for each activity, reducing energy waste by 20-30% compared to relying on a single overhead fixture for everything.
Do I really need to plan for future upgrades like EV charging or solar during construction?
Yes—even if you’re not installing these systems immediately. Running oversized conduit to your garage or designating panel space for future circuits costs almost nothing during construction but can save $1,500-3,000 later. You’re not committing to the upgrade, just preserving the option at minimal cost.
What’s the most important energy-efficiency decision I can make during construction?
Proper electrical infrastructure planning. Your panel size, circuit layout, and wiring decisions determine what’s possible for decades: efficient appliances, smart controls, EV charging, heat pumps, and future technologies. These foundational choices cost almost nothing during construction but become expensive or impossible to change later.
Can I use regular dimmer switches with LED lights?
No—standard incandescent dimmers often cause LEDs to flicker, buzz, or fail prematurely. Always specify LED-compatible dimmers during construction and confirm compatibility between your dimmer switches and LED fixtures. This costs the same during installation but prevents frustrating problems later.
Achieving Long-Term Energy Savings Through Thoughtful Planning
Incorporating radiant, energy-efficient lighting and smart appliances during construction sets the stage for a comfortable, cost-effective, and sustainable home. Every decision—whether it’s the room-specific lighting design, careful appliance selection, or integrating smart home features—contributes to long-term benefits and lower energy costs.
At Value Built Homes, we make home building simple and stress-free. Our standardized floor plans and energy-smart designs reduce decision fatigue and integrate the best energy-saving solutions from the start. With our expert guidance, you’ll enjoy a home that is affordable, efficient, and built to last.
Begin your journey toward a brighter, more inspiring home by exploring all our energy-efficient solutions. Contact Value Built Homes today for personalized guidance, and start creating a home that beautifully blends style, efficiency, and simplicity.